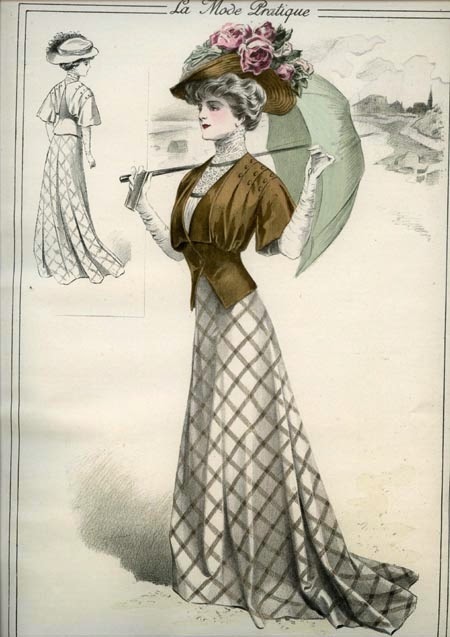
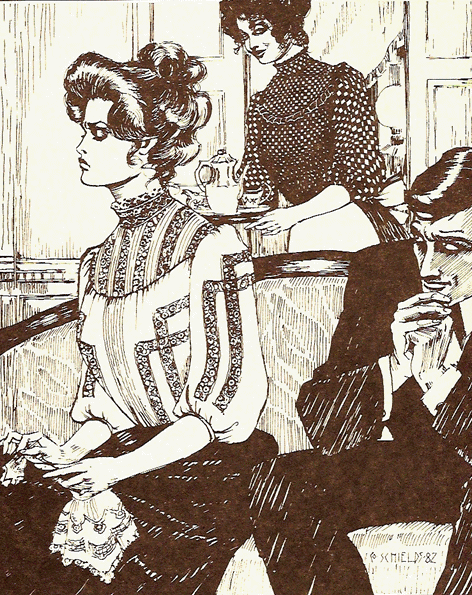
For the next installment of my Edwardian half-mourning dress series, I thought I'd show you some of the construction details that went into my jacket. The jacket was the part of the inspiration fashion plate that really captured my imagination and made me want to recreate this outfit. I love the quirky transitional styles from the end of the Edwardian period, and this jacket has such a cool combination of crisp tailoring at the waist contrasted by soft volume at the bust. It definitely wasn't easy, and I can see some things now that I wish I had done differently, but was such a fun challenge and I learned a lot along the way.
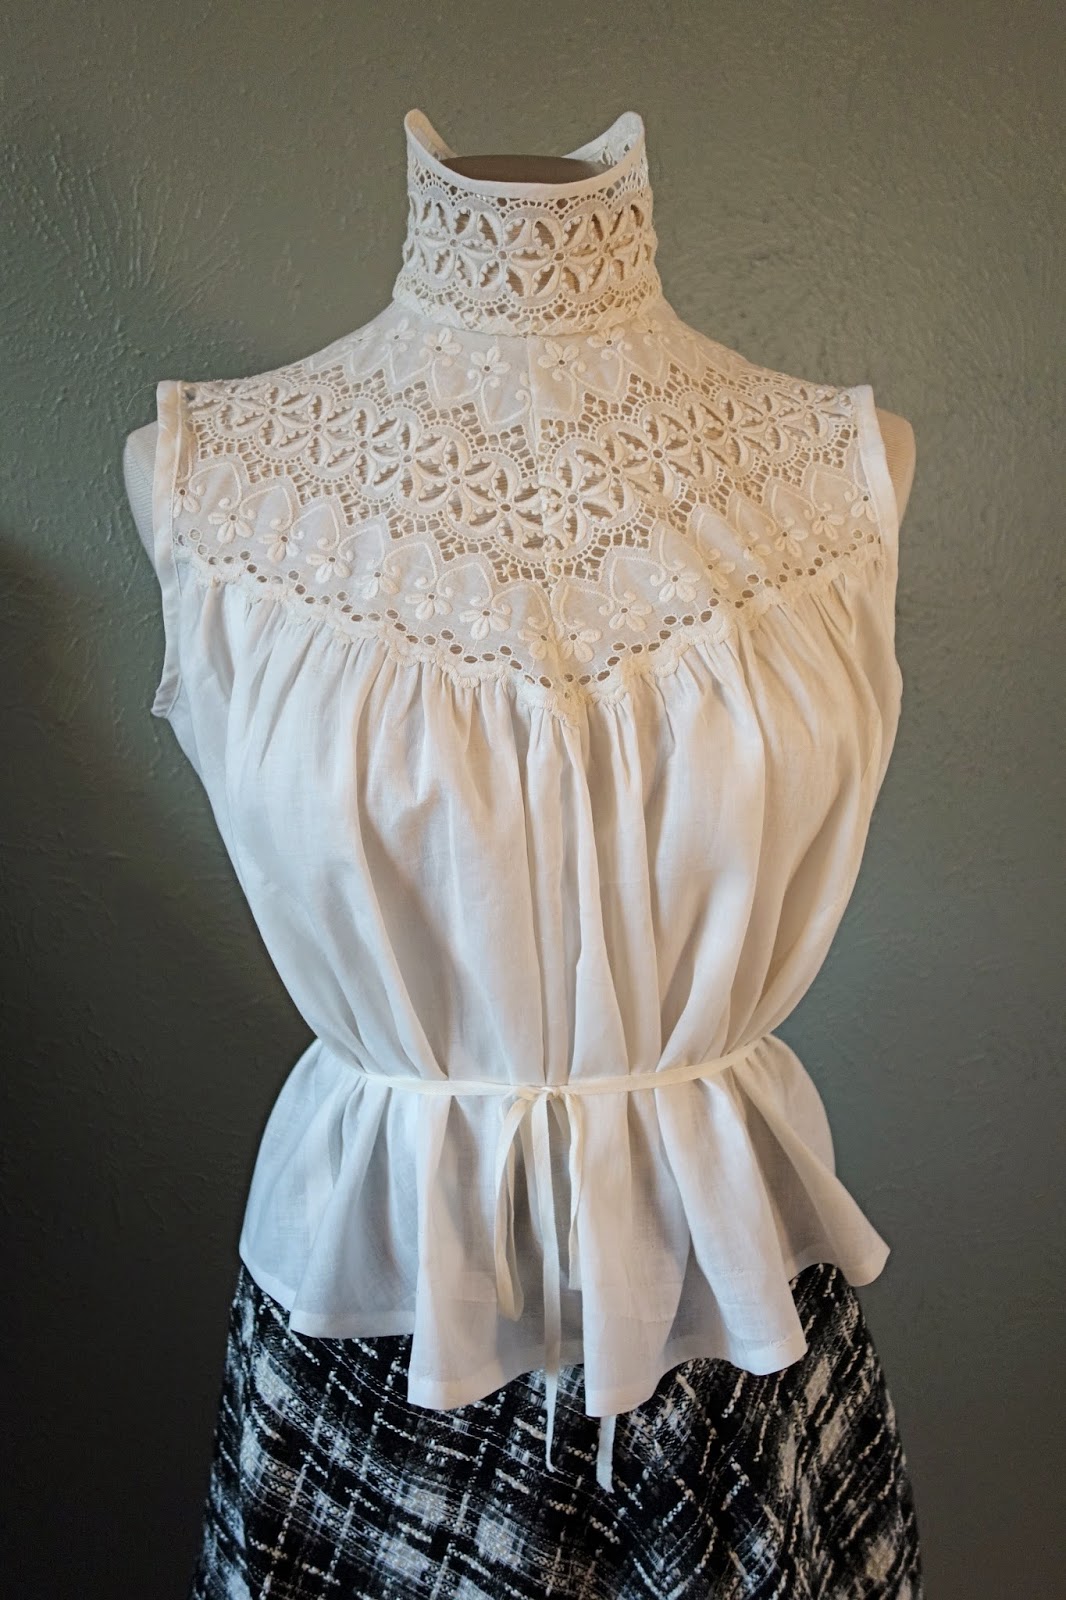
To get started on this project, I searched through everything that I could think of to see if I could find a period pattern diagram for a garment with a similar shape. I couldn't believe my luck when I discovered that one of the La Mode Pratique magazines in my collection had a full sized tissue pattern for a blouse with a similar fitted bottom and blousy top. This pattern dated from 1914, so it was 6 years later than my Edwardian inspiration, but I loved that they are both from the same magazine, and if nothing else, it gave me a place to start. (BTW, I'm dying to make up a version of this 1914 blouse at some point in the future too!)


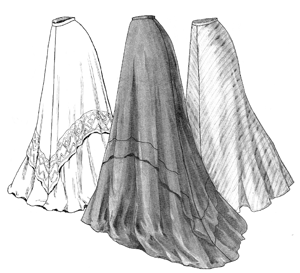
The next step was make a mock-up and then use draping techniques to alter the 1914 pattern into something that was closer to my goal. The Edwardian jacket has a different style of collar, pleating on the shoulders, a strange point up the center-back, and a bell-shaped sleeves instead of tapered ones, so the pattern ended up looking a LOT different by the time it was done. You can see my final pattern pieces laid out flat in the picture below. What a weird shape!

I made this jacket out of fairly lightweight wool, so I decided to interline the entire bottom section with hair canvas to give it more structure. I attached the hair canvas to the wool with lots of rows of tiny prick stitches at first, and although you couldn't see them on the wool side, I ended up chickening out and removing a lot of them in the end because it caused some slight puckering when the jacket curved across the dip in my waist. I also pad stitched my lapels, which helped them roll a little better. You can see one finished lapel at the bottom of this picture with a strong roll line compared to the un-stitched collar in the background, which still lays flat. All of these tailoring techniques are covered in Gertie's Lady Grey Sew-Along, which is a wonderful place to learn about tailoring techniques.

 Once the hair canvas was attached, I assembled the bottom section of the jacket and whipped down the seam allowances. It was finally starting to look like something now, but still so odd!
 For the top of the bodice, I made a fitted lining from checked cotton, then I pleated and gathered the wool shoulder pieces and basted them to the lining to keep everything stable. Then I top-stitched the bottom half of the jacket on top of the gathered section. Unfortunately, this is where my photo narrative fell apart. I was too frazzled and tired to remember to take pics on the night it finally all came together, so you'll just have to use your imagination for the last few steps. But I do have a pic of the inside of the finished jacket, which shows the fitted lining and the inside facings that hide all the raw edges.
The final step was to add 36 small cord buttons to the pleats on the shoulders, and one large button to the waist. After seeing some really cool antique cord buttons online, I decided to try making one myself. I took a fabric covered button and wrapped it with soutache with a simple basket-weave pattern in the middle. It was was a quick and easy project compared to the more complicated Dorset and death's head buttons that I've made in the past, but the techniques are all very similar. I also covered the bound buttonhole with some more soutache just to give it a little extra embellishment. You don't notice it very much in all that sea of black, but it still makes me happy that it's there.

Here are a few more very over-exposed shots so you can see the details of the jacket, and check back later this week for info about my Merry Widow Hat of Awesomeness(!!!) and some pictures of all the pieces together for the final look.